Awning Setup Instructions

Awning Installation Instructions Taylormadeawning Com

Sunsetter Awning Installation Manual

Pioneer Lite Awning Installation Manual Carefree Of Colorado

Basic Rv Awning Operation Instructions Rv Basics Com Rv Awning Replacement Camper Awnings Rv

How To Install A Retractable Awning Youtube

Awning Measuring Instructions Sunsetter Retractable Awnings
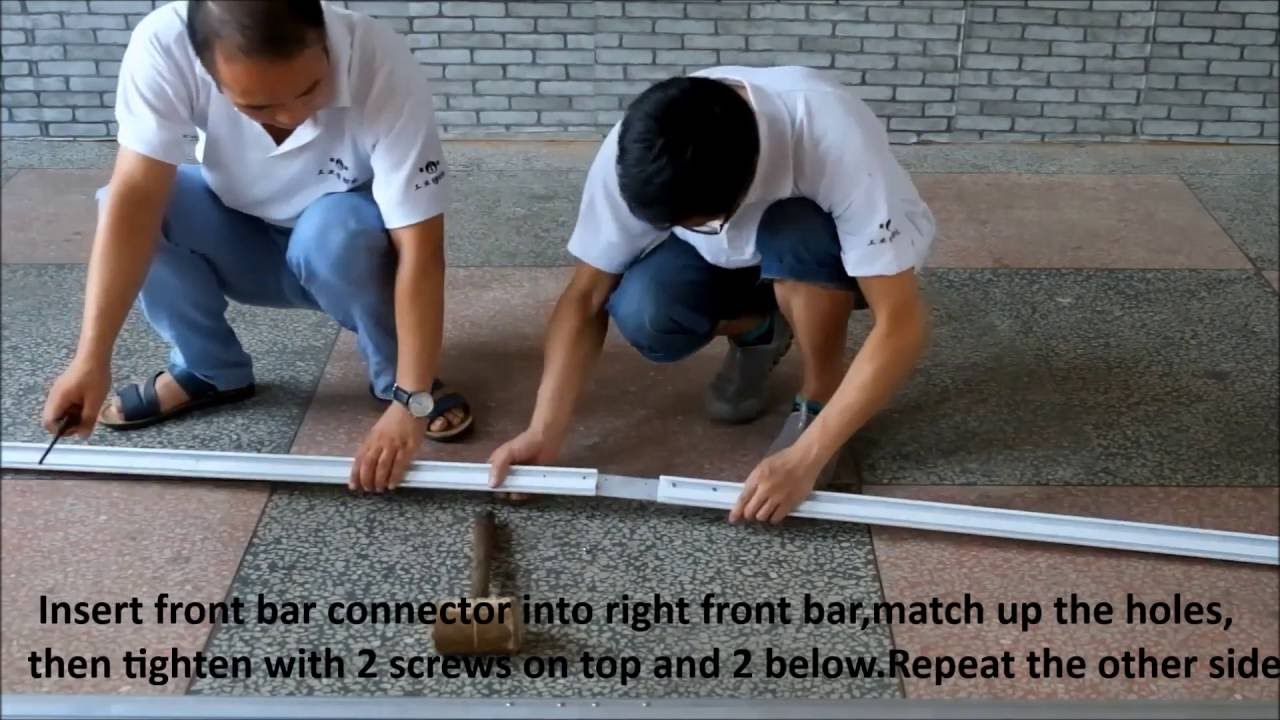
3100 series window awning assembly installation guide 3300 series window awning assembly installation guide 3500 series window awning assembly installation guide 3700 series window awning assembly installation guide 4100 series casement window awning assembly installation guide 4300 series window awning assembly installation guide.
Awning setup instructions. Setting up the arb 2000 awning an overview on care. These instructions pertain to the a e model 8500 rv awning. 1 2 use 4 lag screw in top and bottom holes of bracket. Most rv awnings are operated in a similar fashion.
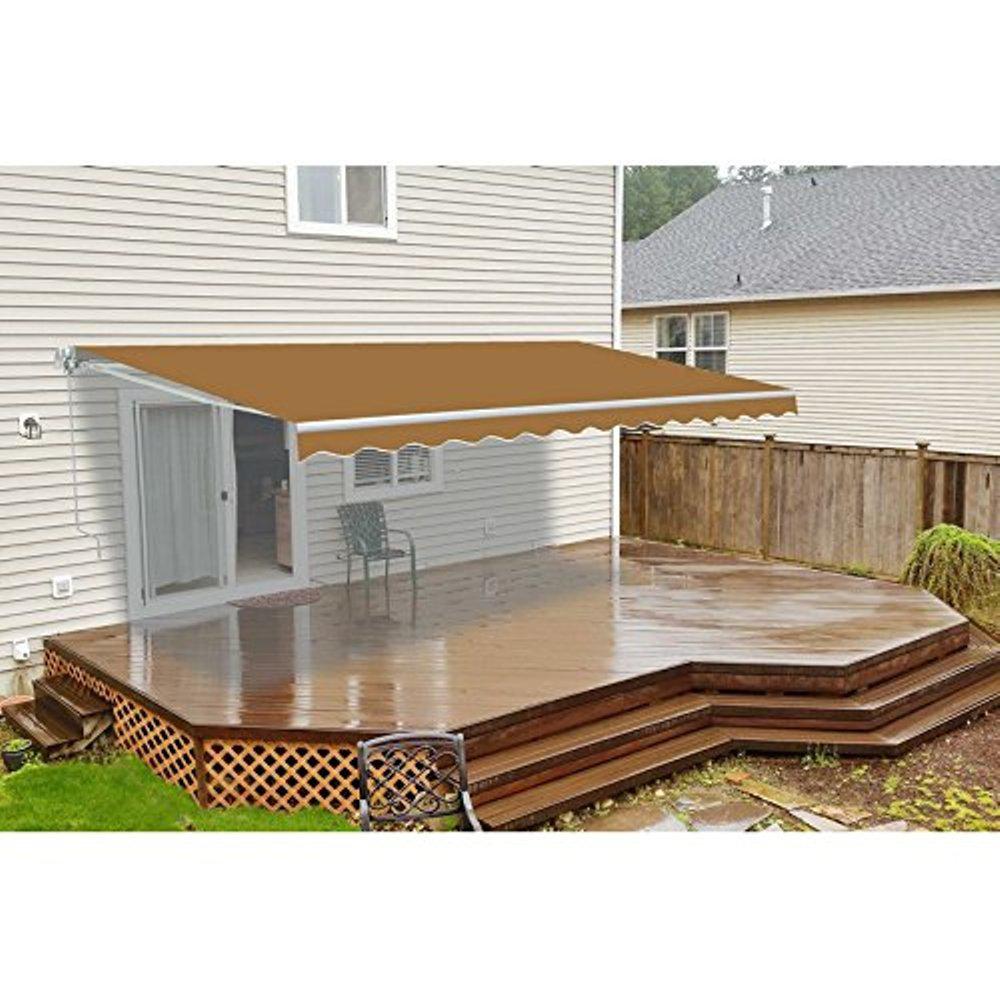
Assembly video enjoy your patio all summer long by adding an americana teton patio cover. Begin this process by matching the width of the awning to the area of the house designated for installation. Patio covers from american are easy to install especially with the. Tips and tricks on how to open your rv awning.
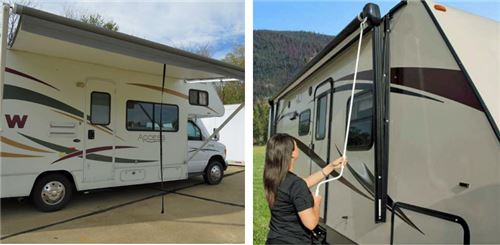
Rv awning operation. Release the travel locks on both rv awning arms. All rvs that come with an awning will come with an awning rod as well. The ratchet mechanism should be labeled with both open and close for when you go to switch the lever.
Using your awning rod switch the lever to the open position. Measure the distance from each end of the square bar to the center of the bolts that. The mounting height 9 ft is optimal is defined as one inch above the highest part of the wall bracket from the deck patio floor. Both e marks and mark this measurement a for arms.
Manual retractable awnings can be installed on the wall soffit and roof depending on the product install in places where there are patios sporting events outdoor venues. When i first got the arb 2000 awning i was super excited but the instructions were a little less than helpful in a few places when it came to setting up the legs on the awning i was a little confused. The travel locks may be released by squeezing the release tabs on some models or swinging them out of the way on other models. 1 1 4 use 4 lag screw in top hole use 5 lag screw in bottom hole.
Hold the arm supports to the square bar and then transfer this measurement in from. For wall mount continue below.

Mcombo 13x8 10x8 12x10 Ft Manual Retractable Patio Window Awning Comme Mcombo

C Series Manual Retractable Awning Outdoor Porch Patio Deck Awning
How To Install Patio Manual Retractable Sun Shade Awning Youtube

Advaning L Series Manual Awning Retractable Patio Deck Awning
Xtremepowerus 8 Ft Manual Retractable Awning 79 In Projection Outdoor Sun Shade Canopy 96074 The Home Depot

Mesa Awning Manual Window Small Patio Balcony Retractable Awning

Manual Retractable Awning Sunesta
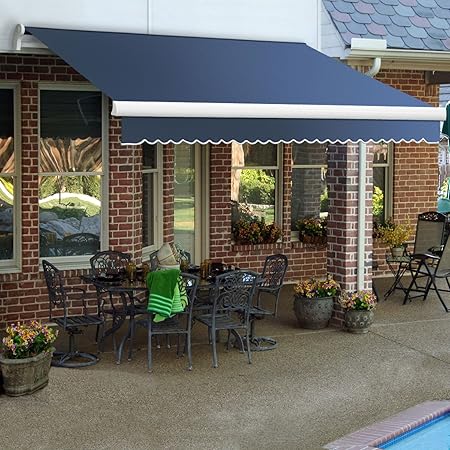
Amazon Com 14 Ft Maui Manual Retractable Awning 120 In Projection Dusty Blue Patio Awnings Garden Outdoor

Backyard Creations 12 W X 10 Projection Gray Retractable Patio Awning With Manual Operation At Menards
How To Install An Rv Awning From Scratch Etrailer Com

Advaning 14 Ft Slim S Series Light Weight Manual Retractable Patio Awning 10 Ft Projection In Linen Beige Ma1410 A002n The Home Depot
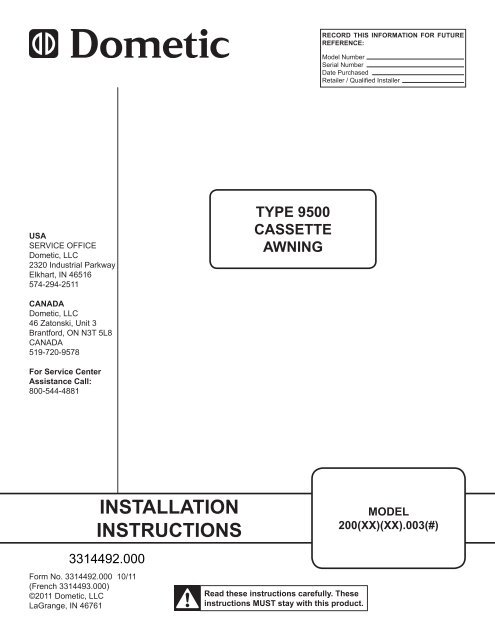
Dometic 9500 Manual Case Awning Installation Instructions
Aleko 12 Ft Manual Patio Retractable Awning 120 In Projection In Sand Aw12x10sand31 Hd The Home Depot
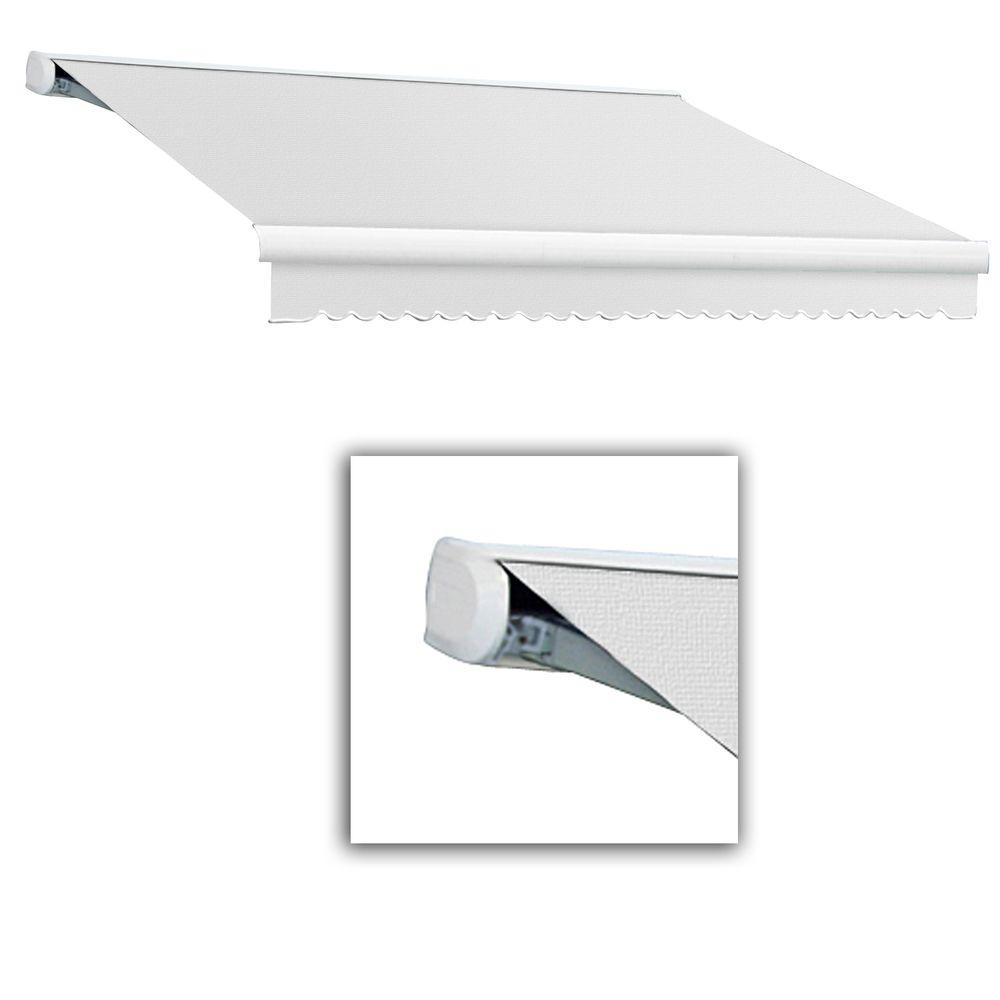
Awntech 10 Ft Key West Full Cassette Manual Retractable Awning 96 In Projection Off White Fm10 W The Home Depot
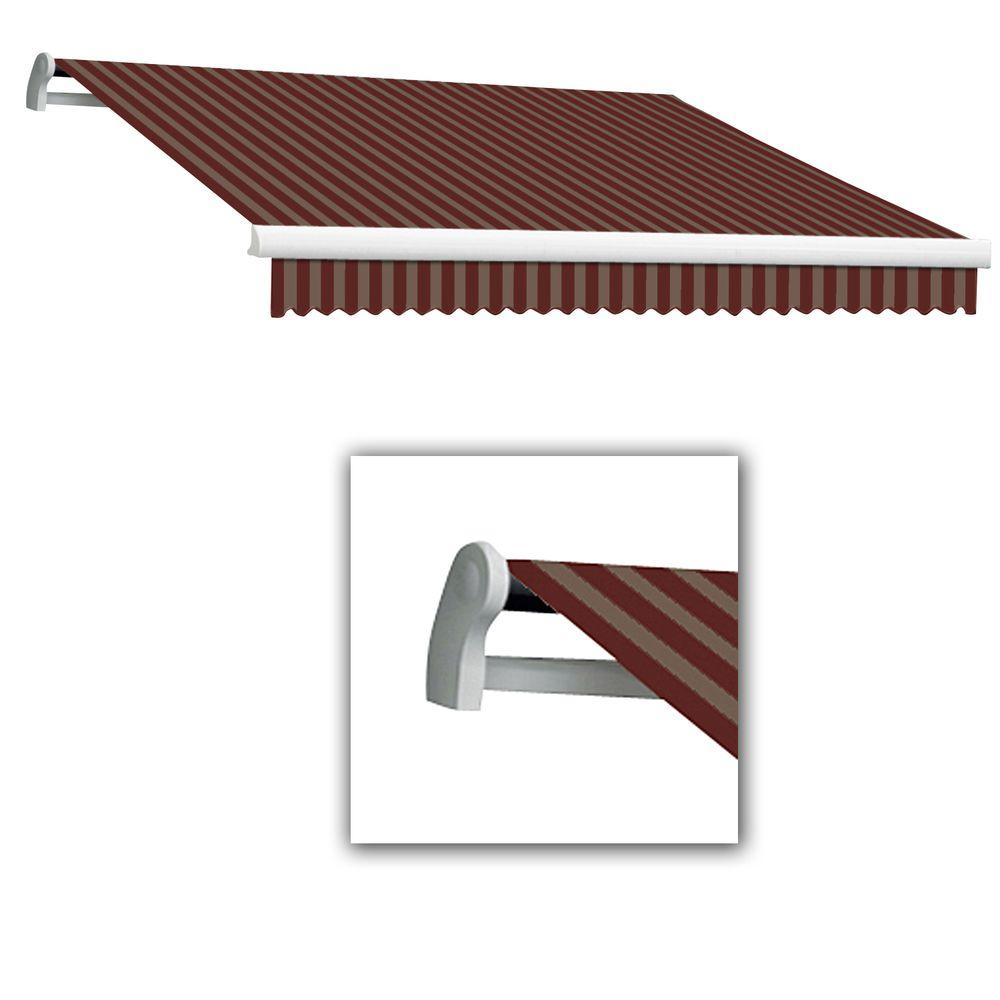
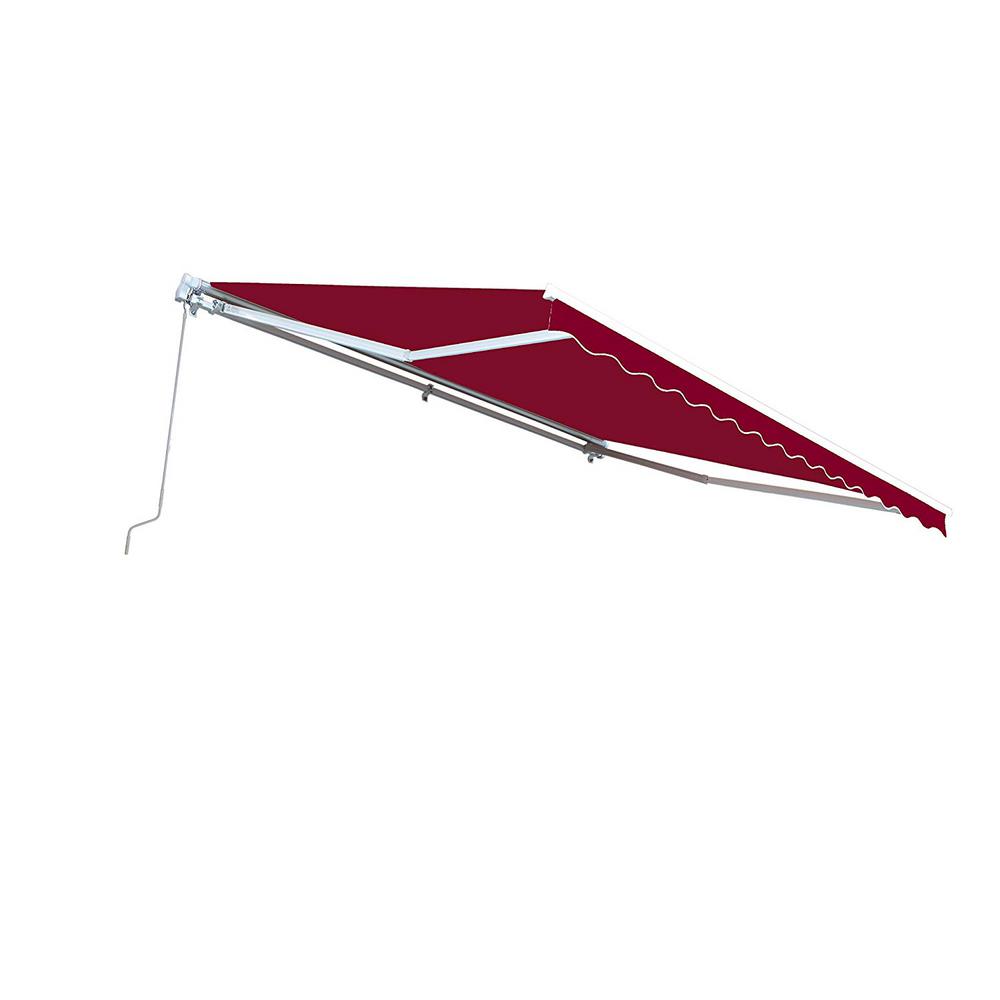
Awntech 14 Ft Maui Lx Manual Retractable Awning 120 In Projection Burgundy Tan Ma14 Bt The Home Depot

Maui Lx Awning Heavy Duty Manual Or Motorized Retractable Awning
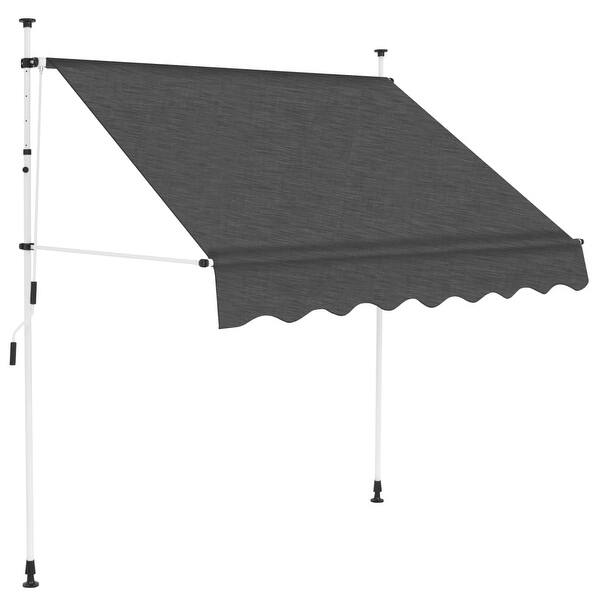
Shop Vidaxl Manual Retractable Awning 59 Anthracite Overstock 28792376

Retractable Awning Manual Garden Canopy Patio Sun Shade Shelter Outdoor Porch Uk Ebay
Https Encrypted Tbn0 Gstatic Com Images Q Tbn 3aand9gcru9ldtlu8w7zpq4c5gncqdgcne13vz8bo7mf2nrj4qyrxc7cbo Usqp Cau
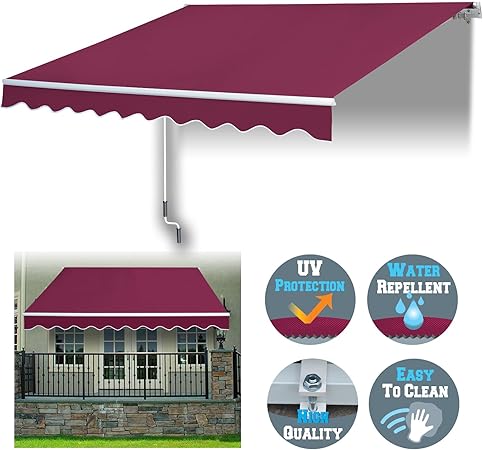
Amazon Com Benefitusa 8 X 6 6 Manual Retractable Patio Deck Awning Cover Canopy Sunshade Burgundy Garden Outdoor
Aleko 10 Ft Manual Patio Retractable Awning 96 In Projection In Burgundy Aw10x8burg37 Hd The Home Depot

How An Rv Electric Awning Works Demonstration Youtube

Dometic 9100 Power Awning Manual Manualzz

Carefree Freedom Rm Awning For Vans Manual Campervan Hq

Awning Set Up On 2002 Coachman Clipper 086 Pop Up Camper Popup Camper Tent Trailer

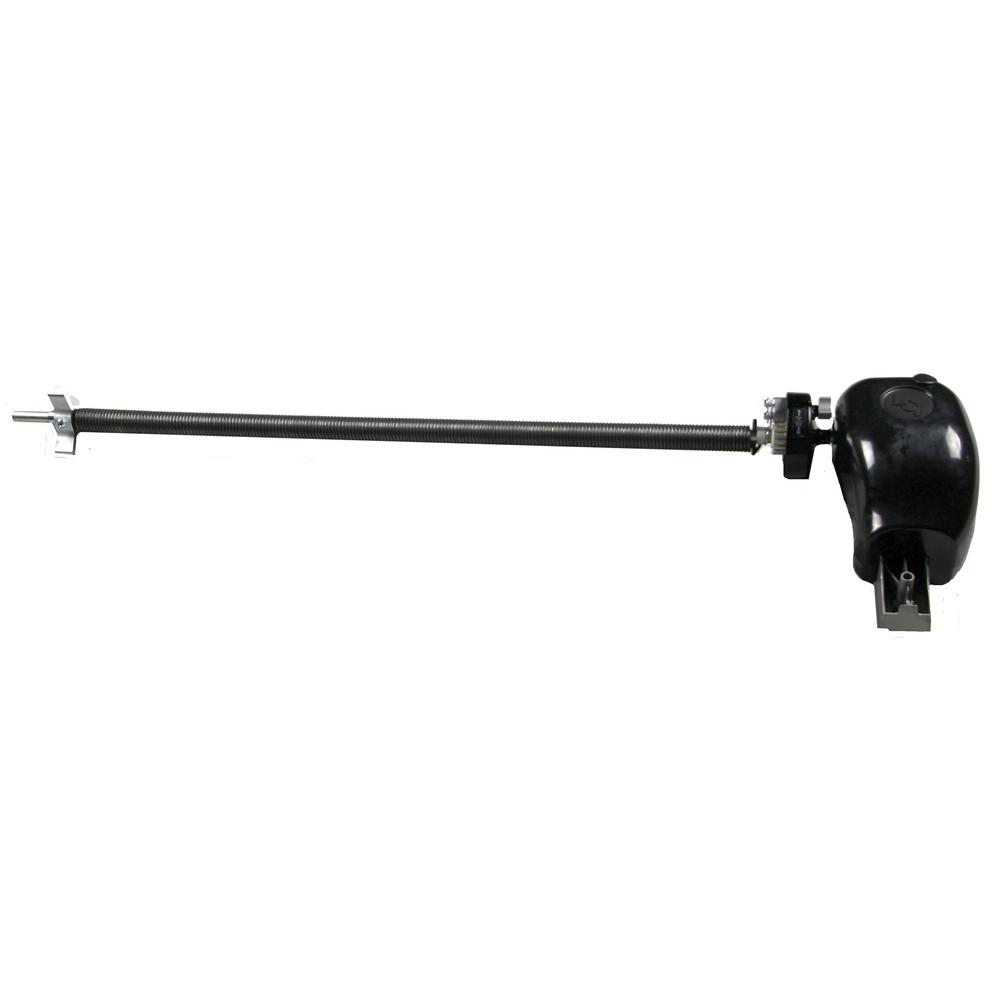
Solera Manual Crank Style Awning Drive Head Black Lippert Components Accessories And Parts Lc300031
Retractable Awnings Motorized Or Manual
Dometic Ae Systems Rv Awning 9000 Plus Users Guide Owners Manual Manualzz

Solera Rv Power Awning Manual Override Youtube
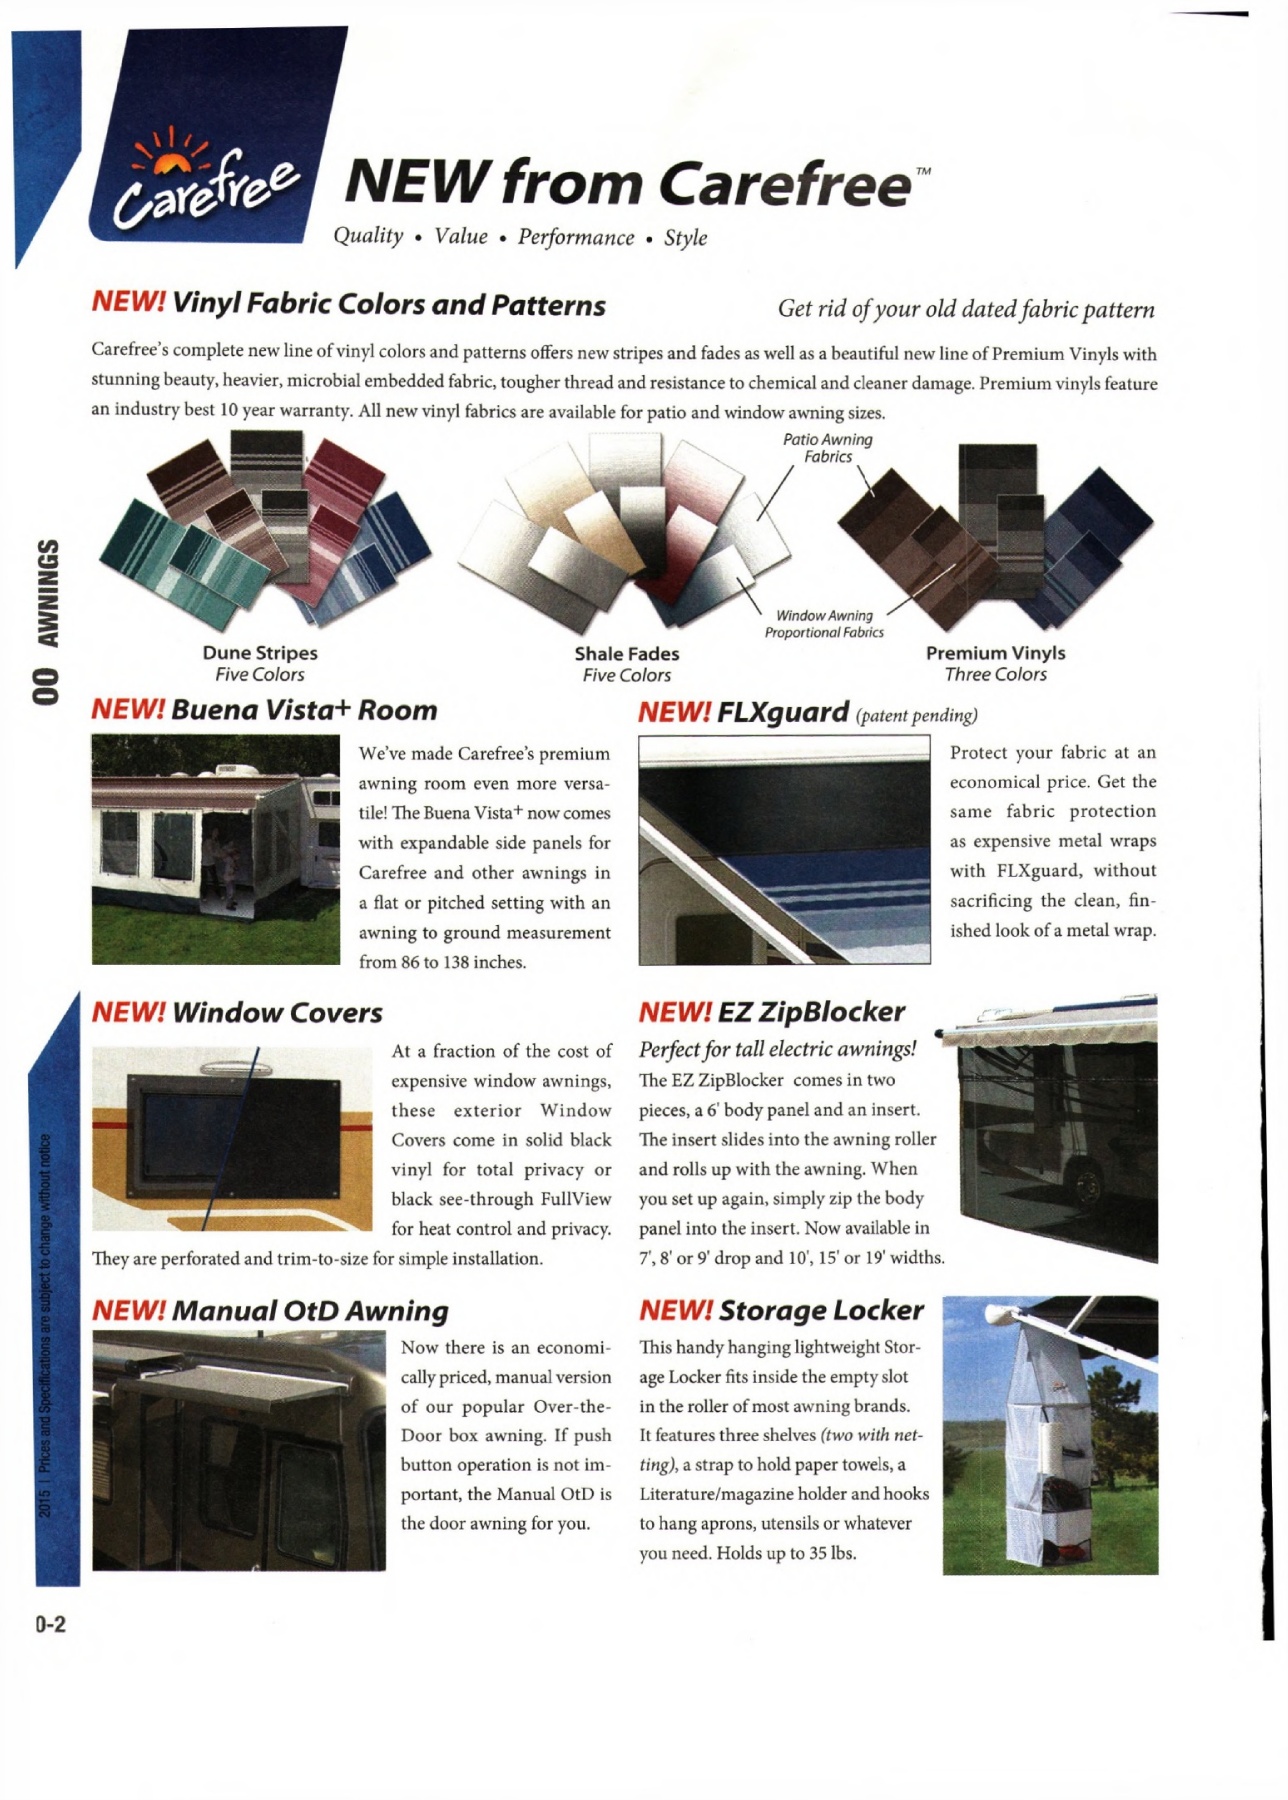
00 Awnings Pages 1 40 Text Version Anyflip

Awntech 8 Ft Key West Full Cassette Manual Retractable Awning 84 In Projection Black White Fm8 Kw The Home Depot

Dometic Awning Manual Patio Awnings Camping World

Dometic Veranda Room Standard Starter Kit Camper Awnings Vintage Camper Recreational Vehicles
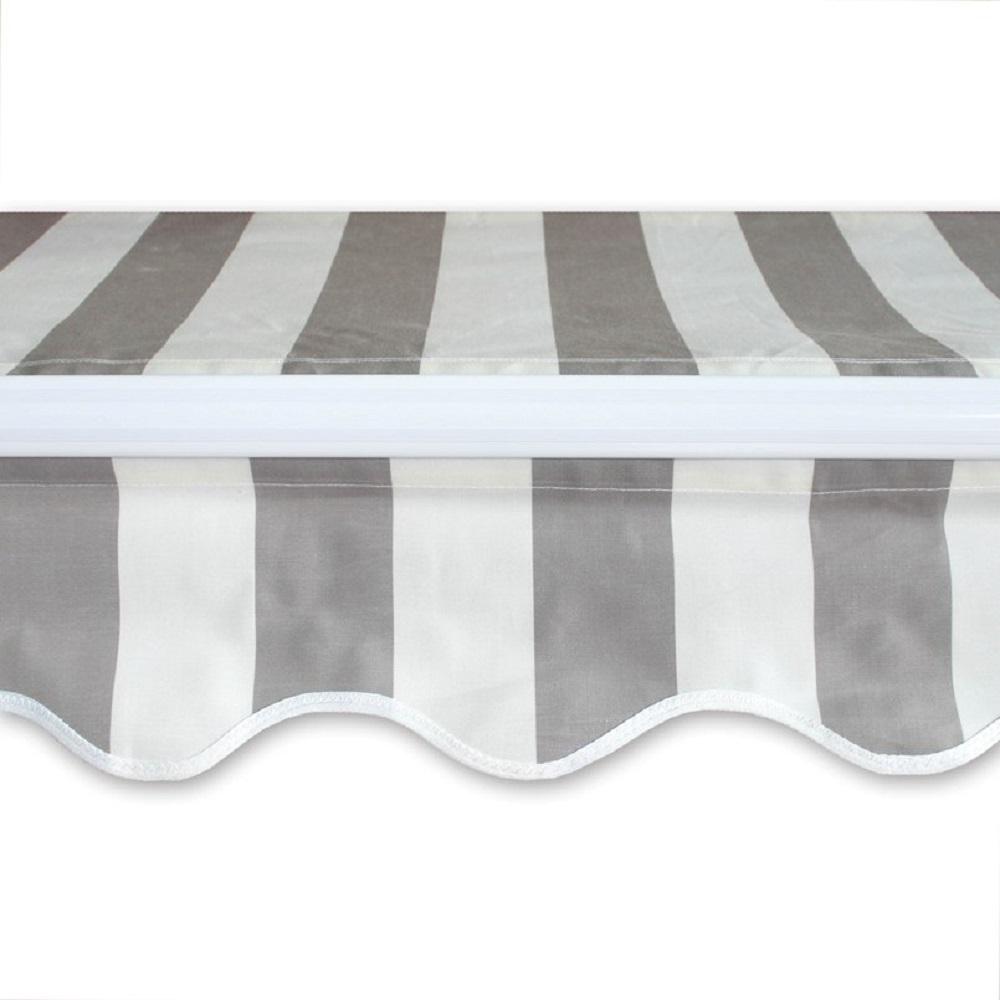
Aleko 10 Ft Manual Patio Retractable Awning 96 In Projection In Grey And White Stripe Aw10x8greywht Hd The Home Depot

Amazon Com Mcombo 10x8 Feet Manual Retractable Patio Door Window Awning Sunshade Shelter Outdoor Canopy Beige Garden Outdoor

Amazon Com Creamy 10 X8 Manual Awning Canopy Patio Deck Retractable Sun Shade Shelter Garden Outdoor

Ac Tubular Motor With Build In For Retractable Aleko Awning Installation Instructions Autoiq Co

Online Shopping Bedding Furniture Electronics Jewelry Clothing More Patio Awning Pergola On The Roof Backyard Pergola

Amazon Com Aleko Manual Retractable Half Cassette Patio Awning 10x8 Ft Manual Exterior Sunshade Canopy With Hand Crank Sand Garden Outdoor

Dometic 9500 Case Awning For Vans Manual Campervan Hq
Outsunny 8 W X 10 D Manual Retraction Slope Patio Awning Reviews Wayfair

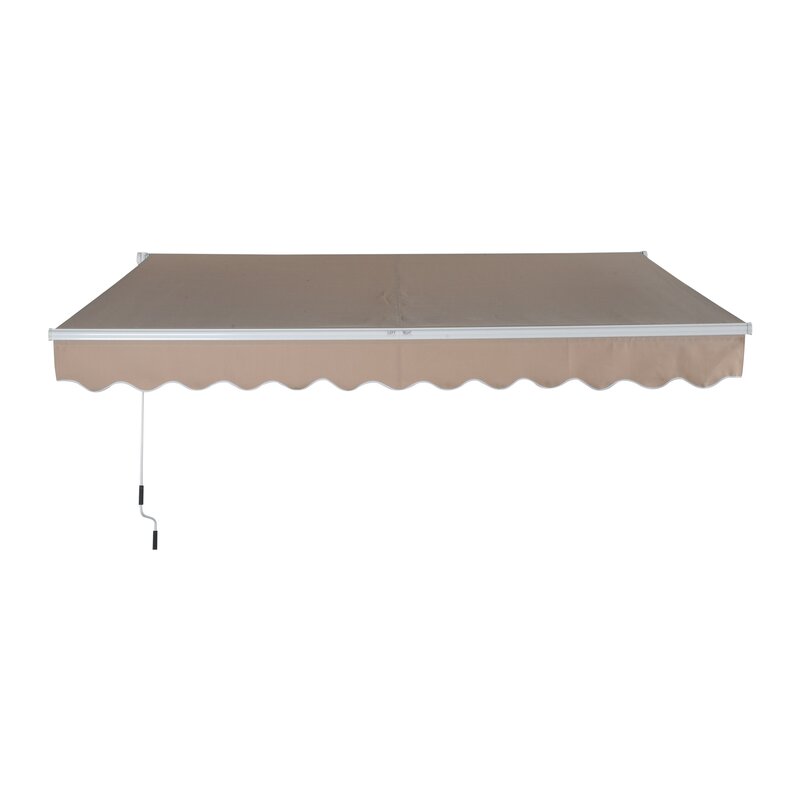
Mcombo Manual 13 Ft W X 8 Ft D Polyester Retractable Standard Patio Awning Reviews Wayfair